Wednesday, July 23, 2014

AGL Summer Showcase & Giveaway Day 8


Welcome to the 8th day of Spellbinders paper arts
 AGL Summer Showcase & Giveaway.
Nearly two weeks of Fabulous AGL project tutorials!
I'm so excited to be sharing my second project for the event. 
Showcasing the new Bezels, Die cuts and Embossing folders
that were released at CHA  2014. 
One winner will have a chance to win all the Wrought Iron Texture Plate,
 The Hearts Die and the Hearts Bezel (small )
that I used in my sample by entering the contest at the bottom of my post.

One lucky Grand Prize winner will Win all the the Products featured during the entire Showcase.
The link is posted at the bottom of my post.

Leather & Lace Cuff Bracelet
Today I'll be sharing how to create this cuff Bracelet.


I am Showcasing Spellbinders/AGL
GLSB-001 Heart Bezel (small)
GLT-003 Wrought Iron Texture Plate
GLD-001 Heart Bezel Die
Supply List:

You Will Also Need:
  • Faux leather 10" x 4"
  • Alcohol Ink
  • Scrap of Lace
  • Sewing Machine
  • Craft Sponge
  • Ultimate Glue or other strong glue
  • Scissors
  • 3" of Rhinestone strand
  • Embellishment for center of Heart Bezel
  • Needle and Thread

Instructions:

Cut a piece of faux leather approx 4" x 10" 

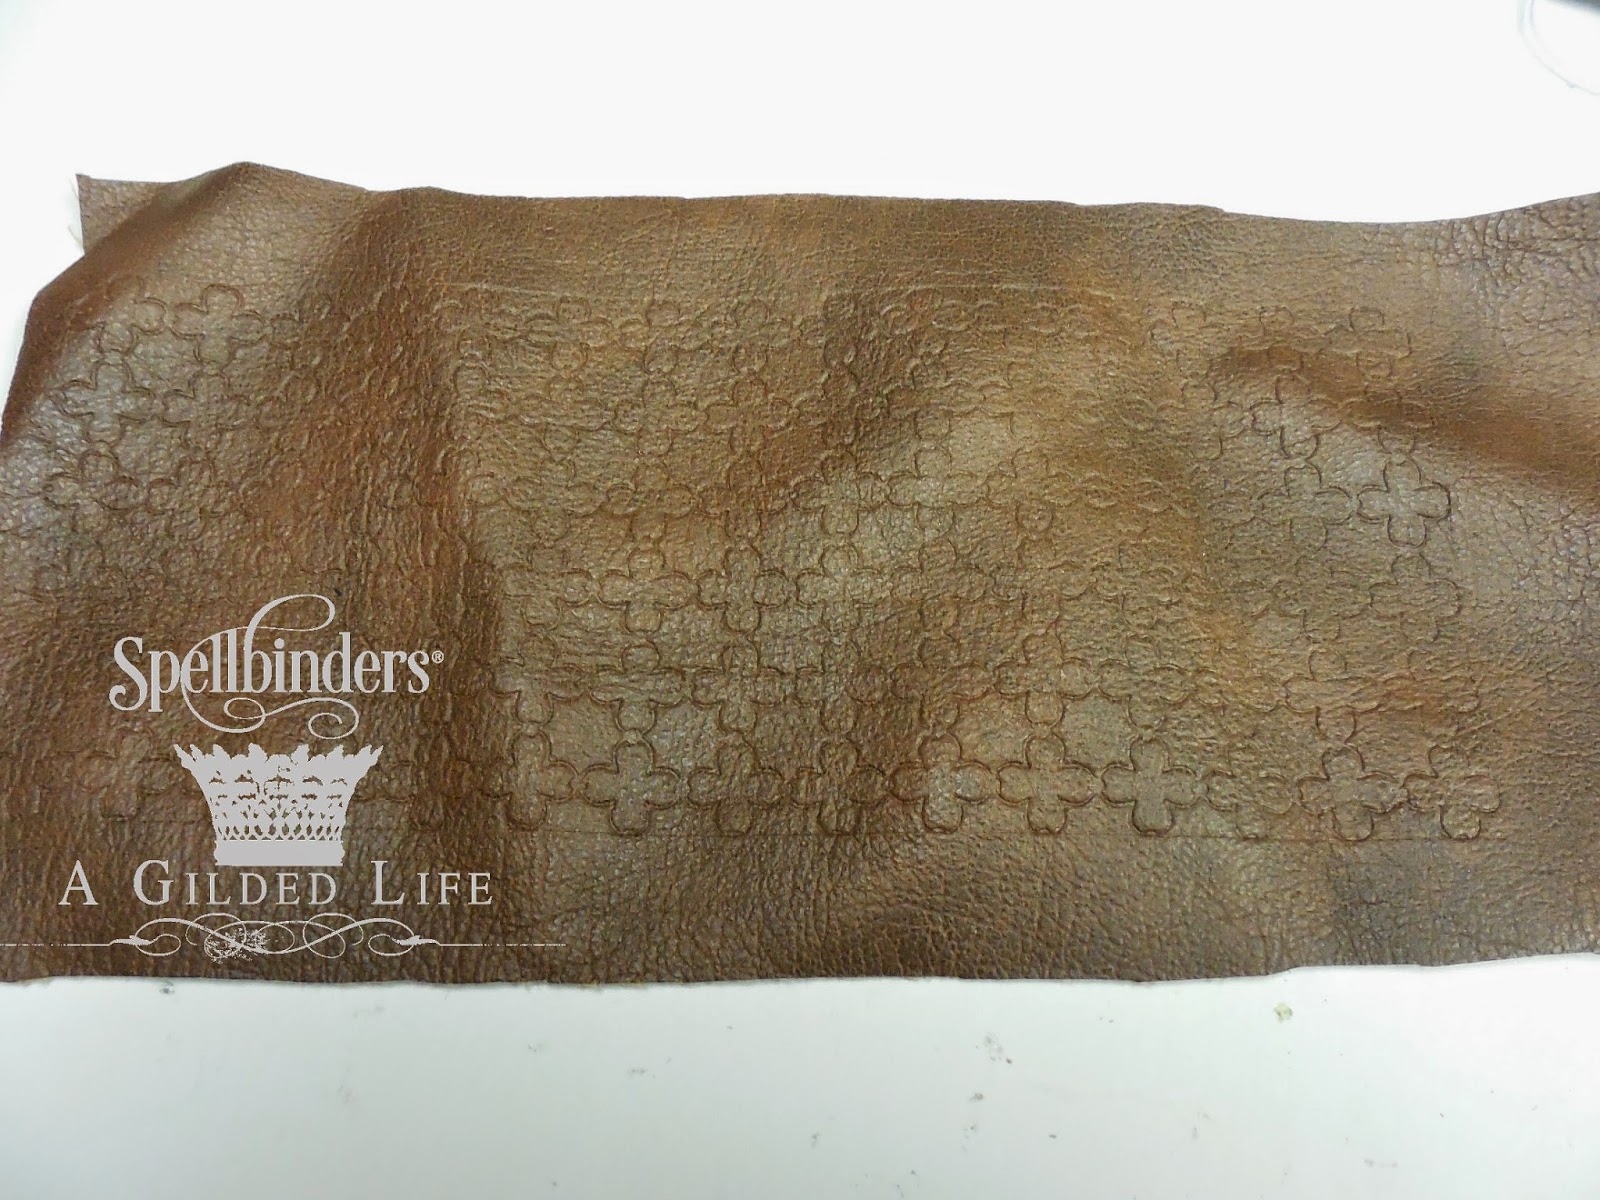
Using the Wrought Iron texture run through the Artisan -X-plorer
Sponge on Alcohol ink, filing in all the design lines.
Fold over edges along sides and machine stitch. I made my cuff about 2 1/2" wide.

Use the A Gilded Life small Heart Bezel
Use the Heart Bezel die and a scrap of lace to cut out the heart shape
Glue the lace heart inside the Bezel.
Machine stitch a scrap of lace randomly at the center of the cuff.
Glue on the strand of Rhinestones around the outside of the heart. 
Use a needle and thread to stitch the heart in place along the top and bottom of the bezel.
Glue an embellishment in the center of the heart.
You can finish the back enclosure with snaps, buttons,Velcro, clasp or ribbon or how ever you see fit.

The finished cuff ready to wear.
I hope you have enjoyed the hop as much as I have!
Best of luck in the Giveaway!

I hoped you stopped by at  Lonnie's 
to enter her giveaway at
and don't forget to sign up for the Giveaway 
Enter here

     Questions?  ContestQuestions@Spellbinders.us.  No entries will be accepted at this email address.

Friday, July 18, 2014

AGL Summer Showcase & giveaway! Day 4


Welcome to the Fourth day of Spellbinders paper arts
 AGL Summer Showcase & Giveaway.
Nearly two weeks of Fabulous AGL project tutorials!
I'm so excited to be a part  of this event. 
Showcasing the new Bezels, Die cuts and Embossing folders
that were released at CHA  2014. 
One winner will have a chance to win the embossing plates
Vintage Damask, Rose Medallion and
the Royal Medallion Bezel that I used in my sample
by entering the contest at the bottom of my post.
One lucky Grand Prize winner will Win all the the Products featured during the entire Showcase.
The Link is posted at the bottom of my post. Good Luck!!

Summer Tussie Mussie
For my first project I wanted to create something pretty for my home.
Filled with lavender from my garden its the perfect summer accent.

I am showcasing Spellbinders/AGL newest metal dies. 
GLT- 002 Vintage Damask 
GLLD-005 Rose Medallion


Supply List:


You will also need:
  • Ivory Cardstock.
  • Wax Paper
  • Spray Glue. I used Super 77
  • Distress ink- Scattered Straw
  • Ivory Crinkle Ribbon
  • Flat back pearl
  • 7 MOP buttons
  • Craft sponge
  • Ultimate glue or other strong glue
  • Scissors
Instructions:

Using Ivory card stock and a sheet of waxed paper die cut with the Rose Medallion long die, the long flourish and filigree  from The Damask Accents collection.
Sandwich together using wax paper between the card stock and die. This makes for an easy release 
Die cut two of the Damask Accents flourish
Super easy to remove when using waxed paper.
Die cut one of the Flourish.
Emboss a sheet of card stock twice with the Vintage Damask long texture plate.Cut out and spray glue along the backside of the paper,adhere to a sheet of ivory card stock. This will give your Tussie Mussie lots of strength.
Using distress ink and a sponge edge all your cut pieces          
Shape your cone by gently rolling the card stock matching top left corner to bottom right corner.Overlap at seem and glue in place.Distress with ink.

 Glue filigree edge along top of cone with strong glue
Distress the Rose Medallion die cut .

 Glue to front of cone covering up seam.
Use the Royal Medallion as a focal point.
 Apply strong glue to the inside of the bezel and glue in flat backed pearl.
  Glue bezel onto medallion.
 Glue the medallion to front of cone. Punch holes along sides and attach the crinkle ribbon.
Glue the MOP buttons along the front of the cone 
and on top of your ribbon handle.
Your Tussie Mussie is now ready to fill with your favorite flowers.

For contest entry click here:
Link is now closed
I hope you stopped by Lonnie's blog at 
Farm Girl Bella. and entered her contest 
Be sure and stop by next week to see the  uber Talented Kimberly at
Artjoystuff and enter to win more Fabulous prizes!

     Questions?  ContestQuestions@Spellbinders.us.  No entries will be accepted at this email address.


Thursday, July 17, 2014

Oxford Impressions New Stamps!

 has three New Stamps set just released!
I knew when I saw the Distressed #'s set 
they would be perfect for this wooden drawer I've been hording!
A good friend of mine's son is getting married and well these table
# cards are just perfect for the reception. They would work great for Bunco too!

Great set with lots of possibilities!

Thursday, July 3, 2014

Awestruck

I'm over the moon EXCITED to see
 Spellbinders has used one of the necklaces I created for CHA.
in their advertising issue of Jewelry Affaire. 
Its even a full page spread!! 
I just heard its also on the back cover of Somerset!!
and 
have joined together with a Gorgeous new line of Bezels,
die cuts, embossing folders and more.
You will be seeing lots more on my blog soon!
Thank you Spellbinders and A Gilded Life 
for letting me be a part of this great Adventure!

Blog Archive